
Commercial Roof Flashing Failure Repair in Sunrise, FL
Commercial Roof Flashing Failure Repair
A curb or wall flashing can leak where the membrane turns upward, even when the field of the roof looks intact. In Sunrise, heat, humidity, and concentrated wet-season rain put repeated movement and water exposure on those transitions. We inspect the material, attachment, seal, and substrate at the failed detail, then trace the moisture path before setting a repair boundary. Sunrise Commerce Park includes multi-tenant business, distribution, and manufacturing uses, while Sawgrass Technology Park contains office and technology space with its own rooftop service needs. A flashing inspection records the assembly and adjacent roof zone before repair begins.
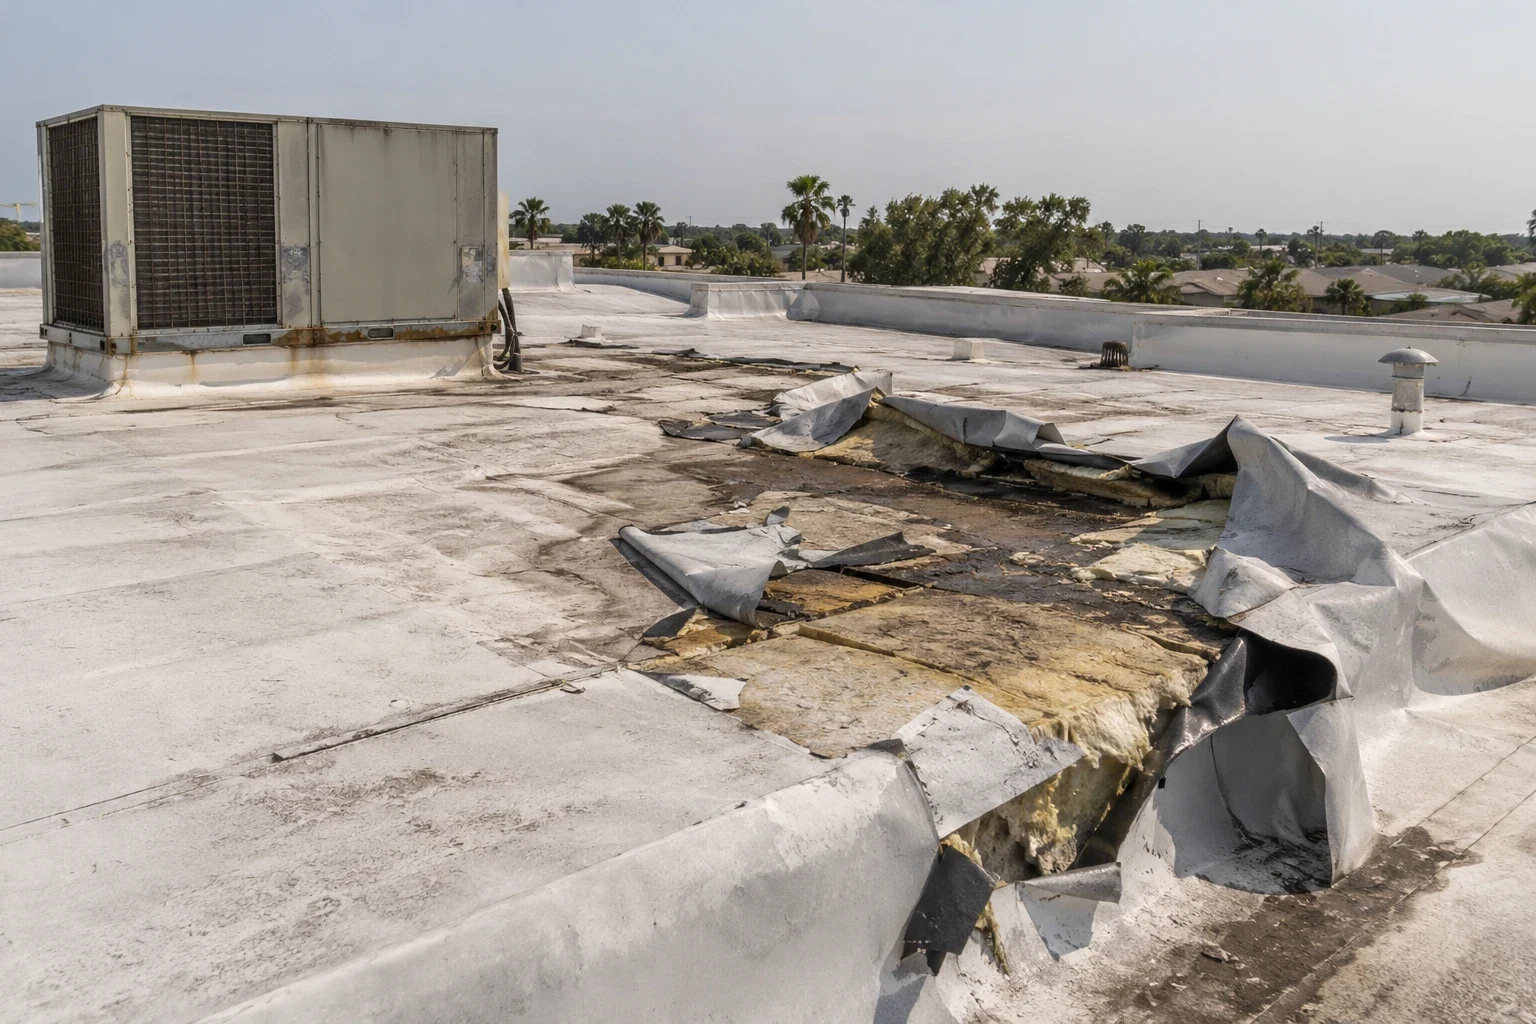
Roof Damage Repair in Sunrise, FL
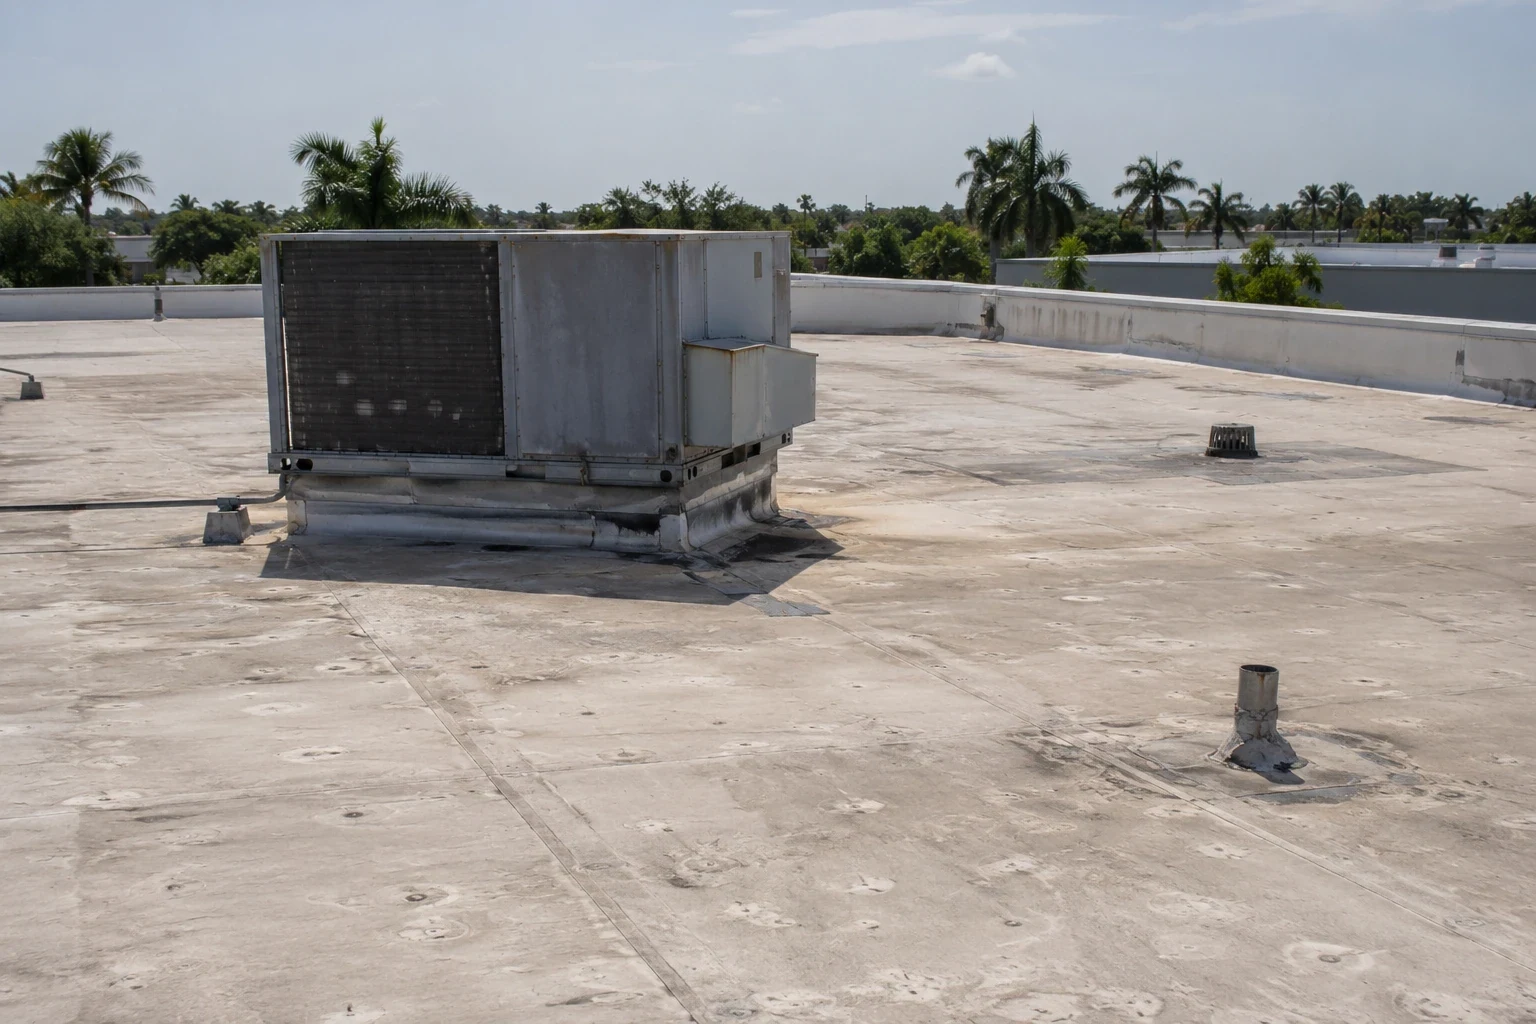
Commercial roof flashing repair in Sunrise, FL. We inspect curbs, walls, penetrations, termination bars, and metal transitions before scoping work.
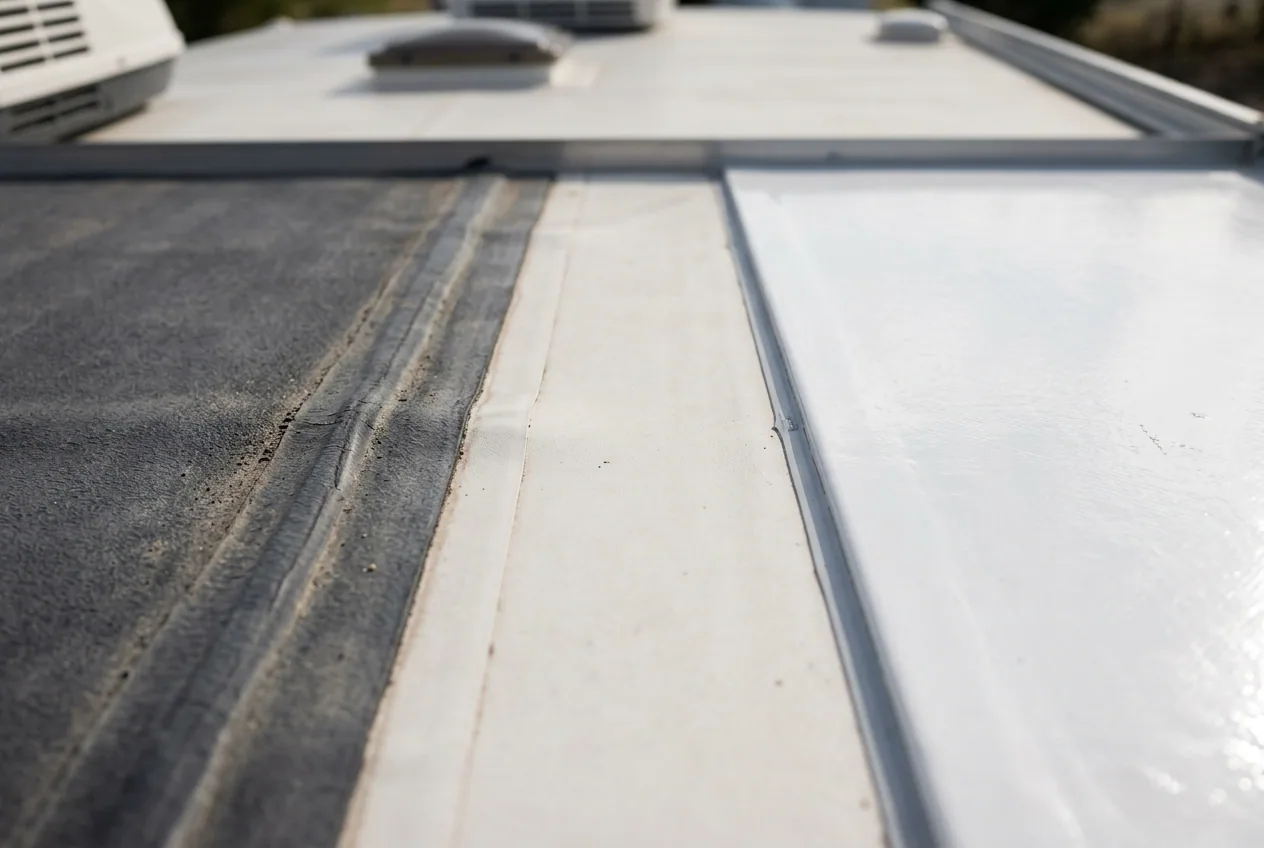
Detail map: Locate the opening at the transition
Water entry at a flashing can come from a separated membrane turn-up, failed counterflashing, open fastener, cracked sealant joint, or movement where two materials meet. We check the detail from the field membrane to the vertical surface, looking for a continuous bond, secure termination, sound substrate, and a path that sheds water. Photographs show the whole transition and the specific opening so the repair can return to the same point after preparation.
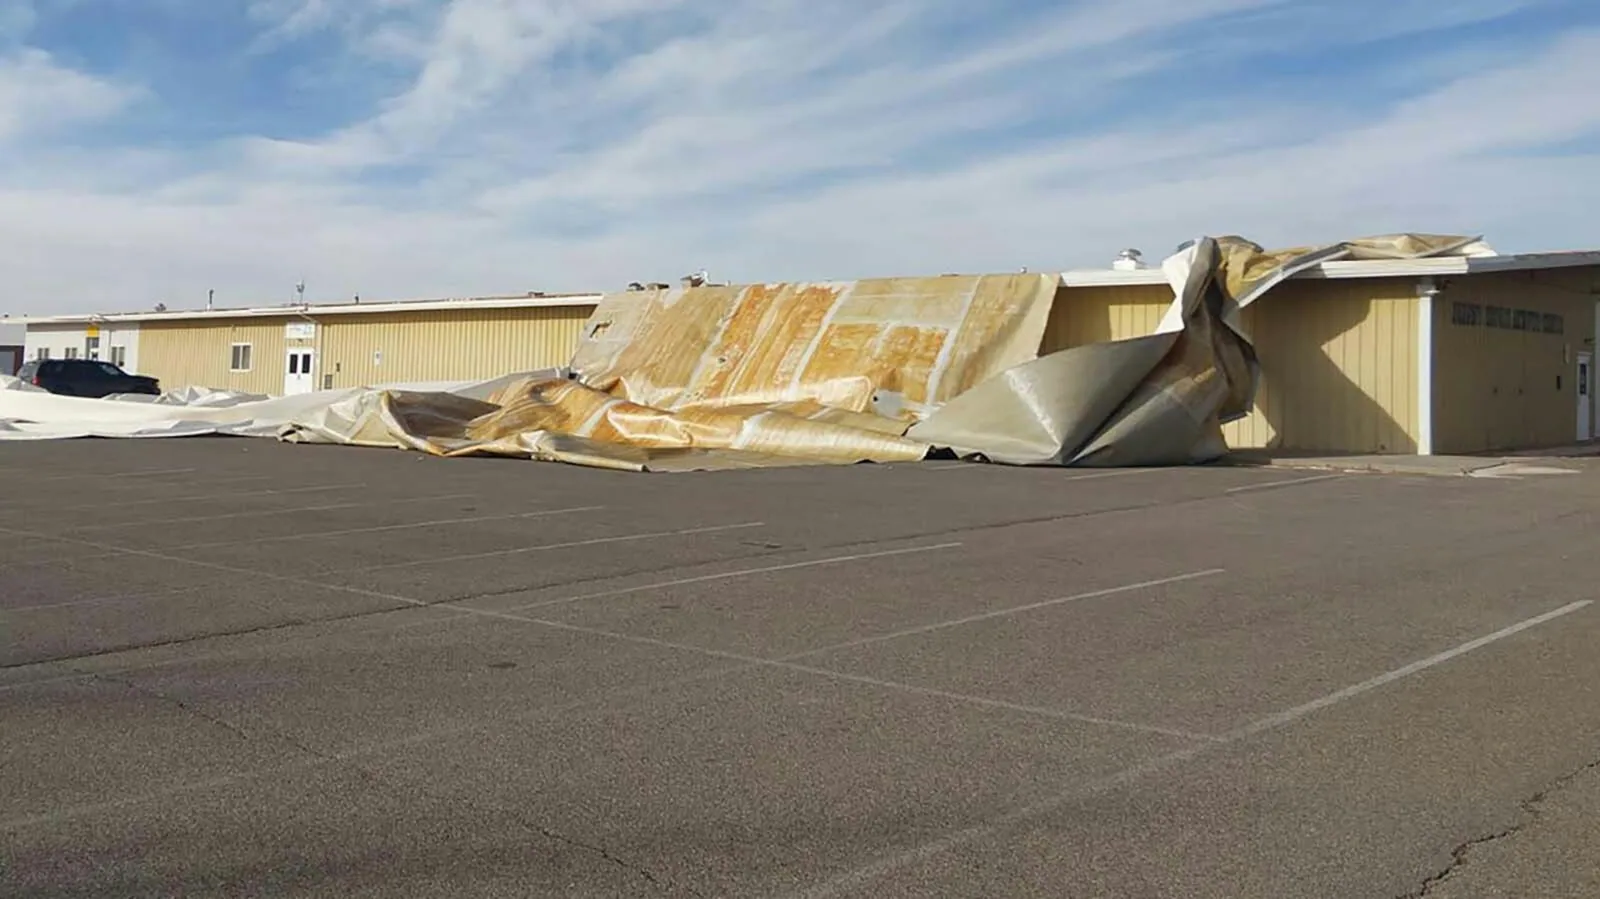
At a rooftop unit, we inspect the curb corners, cap metal, counterflashing, and the membrane where it meets the curb. At a wall or parapet, we check coping, termination bars, surface condition, and adjacent joints. A wind-related inspection may also be appropriate if metal or membrane has lifted. We do not assume a bead of sealant is the repair: the selected work needs to reconnect the layers and remain compatible with the roof assembly.
Each transition is drawn as a short run on the roof map, with corners and intersecting joints marked separately. A tall curb may need a different termination than a low equipment support, and a wall joint can move independently of the field membrane. We note those geometry changes, the direction water sheds, and whether the upper edge is protected by counterflashing. This detail lets the repair crew return to each connection without replacing sound flashing on an adjacent unit.
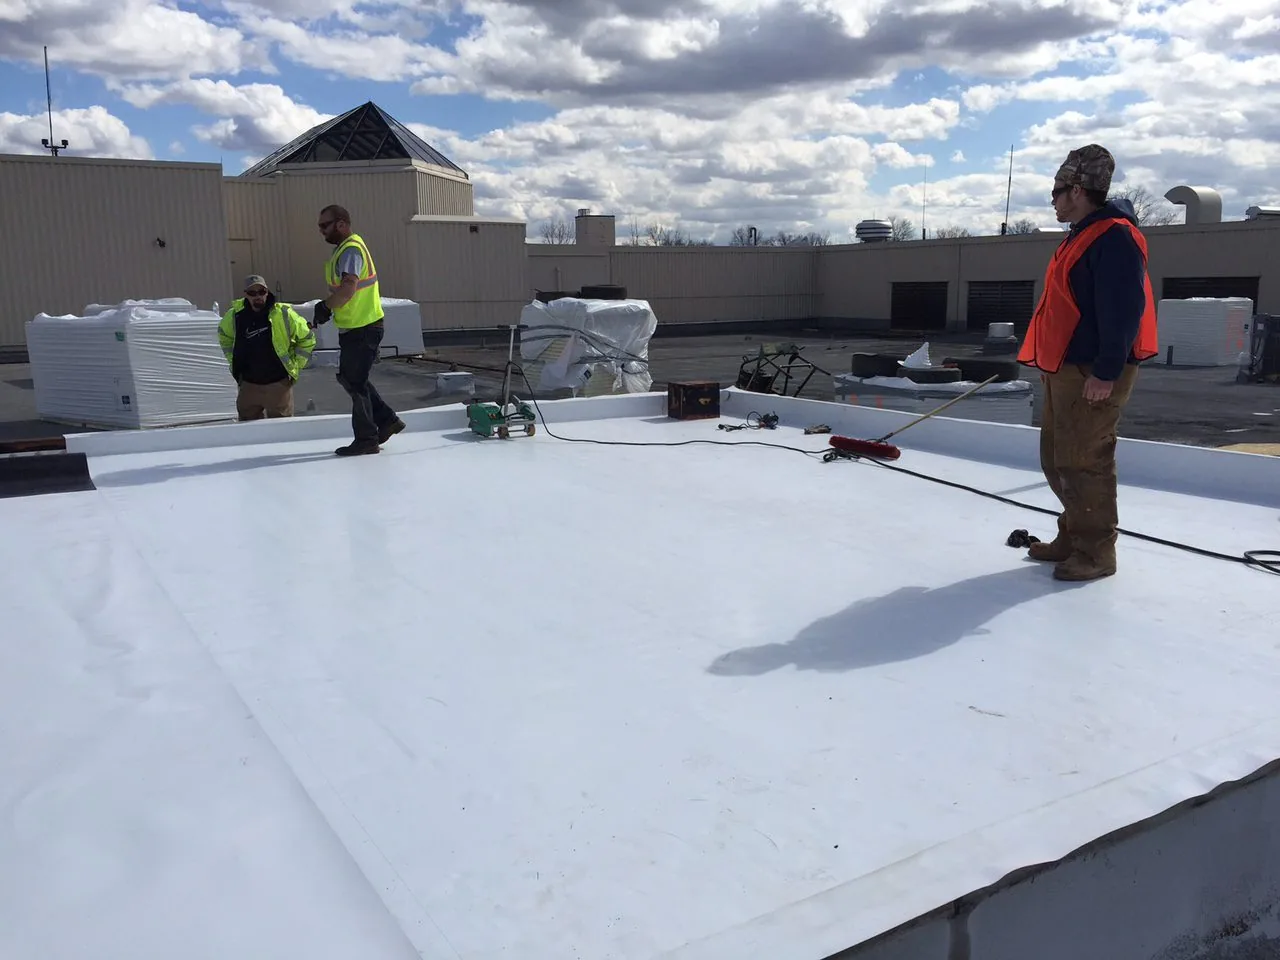
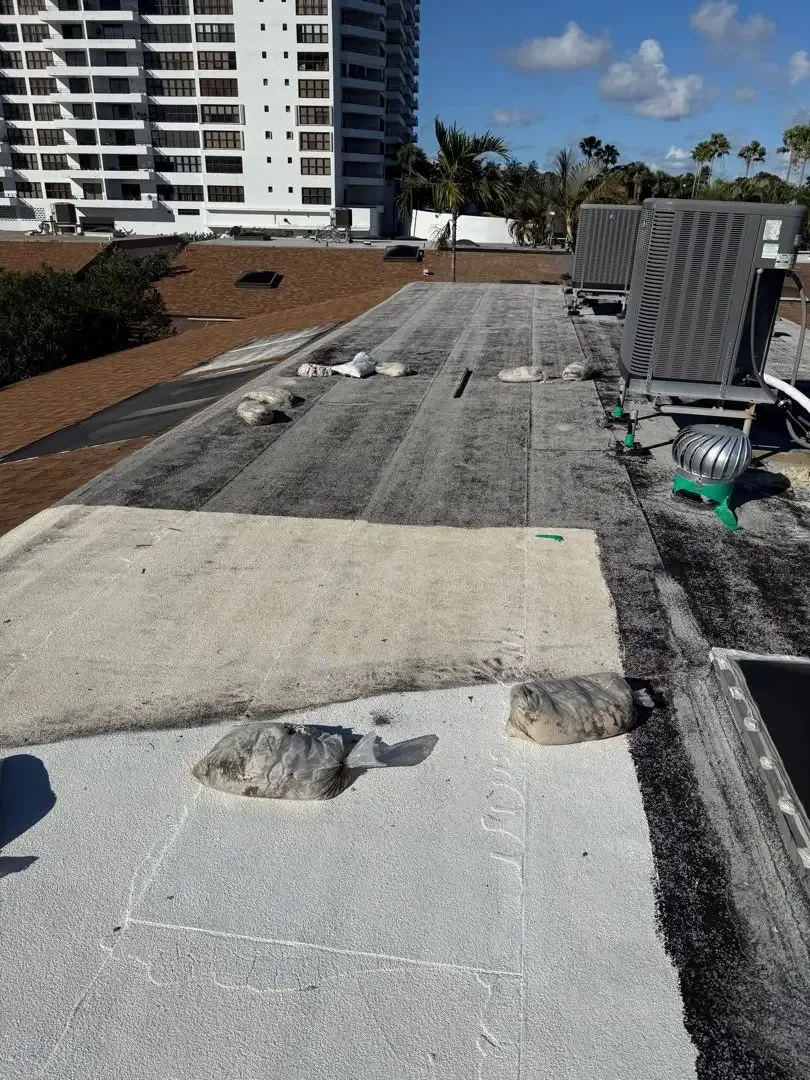
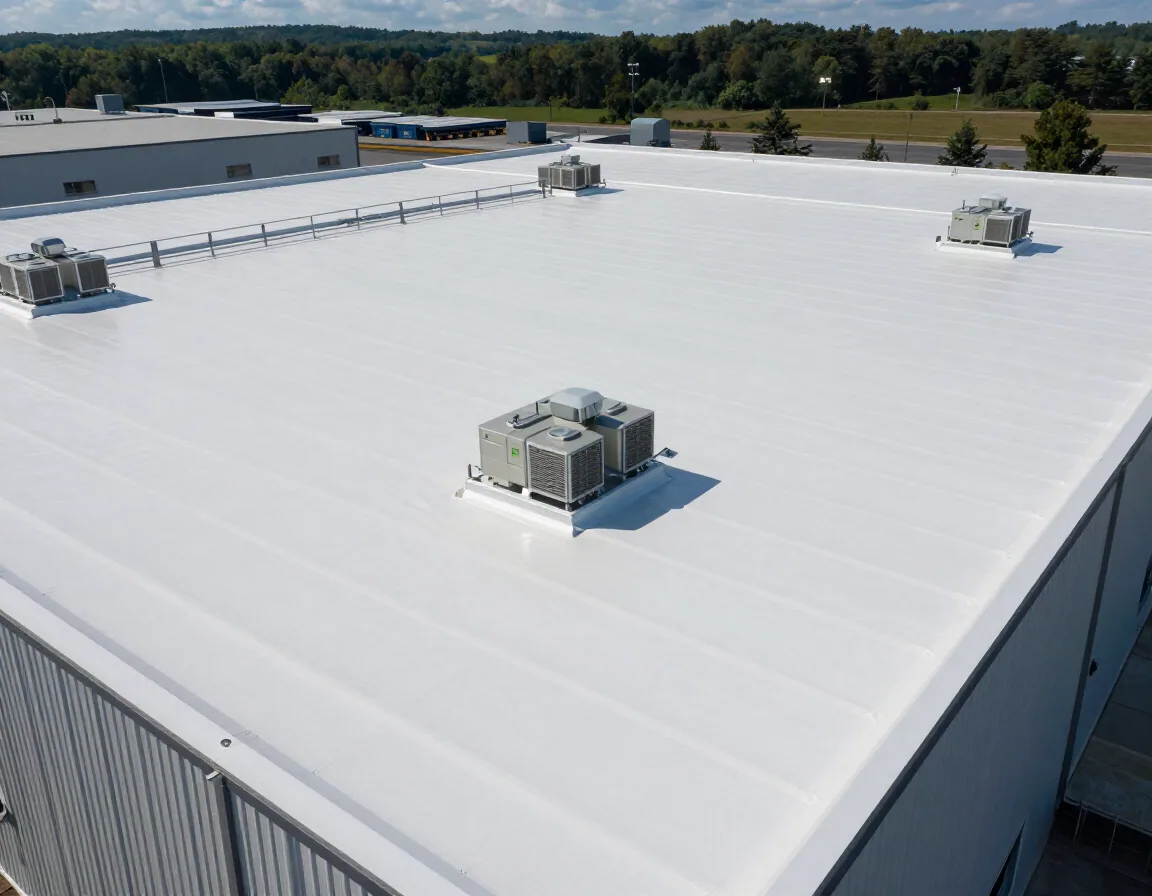
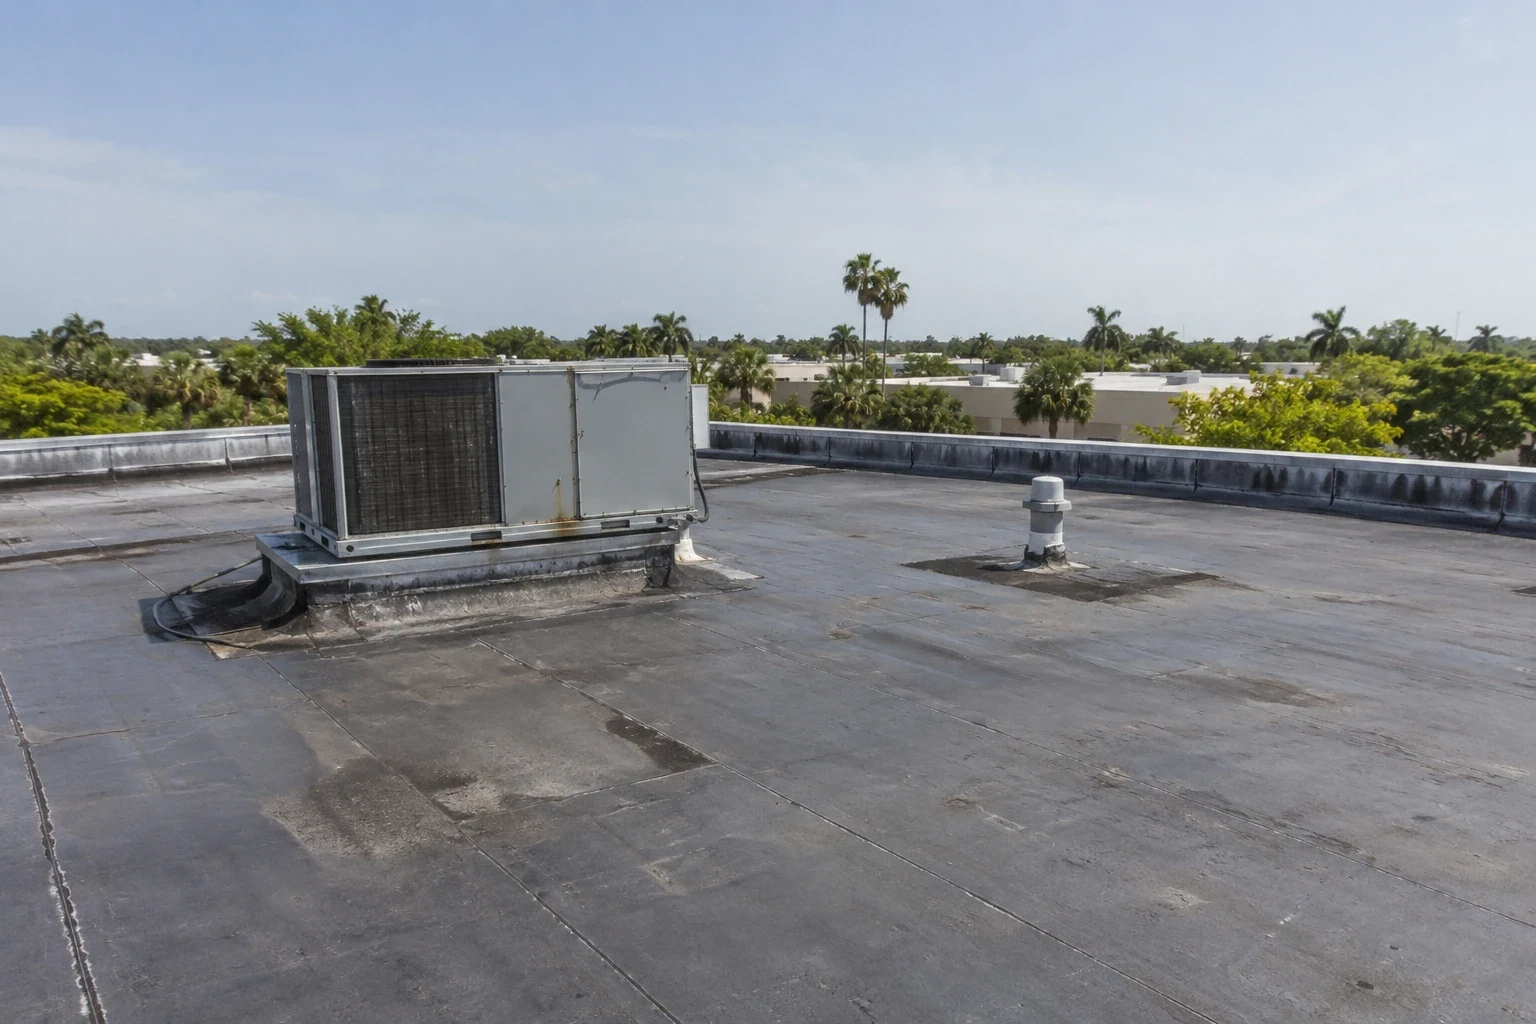
Water route: Compare the roof detail with the interior report
A stain beneath a wall or unit does not prove that the nearby flashing is the entry point. Water can travel along the deck, insulation, or framing before it appears indoors. We use the reported time and area to identify likely roof zones, then inspect upslope details, drains, and transitions. If the route remains uncertain, we document the test needed instead of expanding the work to every curb in the area.
Sunrise property settings range from arena and retail operations in the western business area to the office and technology campus at Sawgrass and the production and logistics uses of Sunrise Commerce Park. We confirm each property's equipment and access plan before repair. We label the unit or wall detail, note the nearby membrane condition, and identify occupied rooms or sensitive equipment below. A photo condition report gives facilities staff a repair reference, and a temporary response can protect an active opening while the complete assembly is evaluated. If concealed moisture affects quantity, a test cut defines what must be removed and rebuilt.
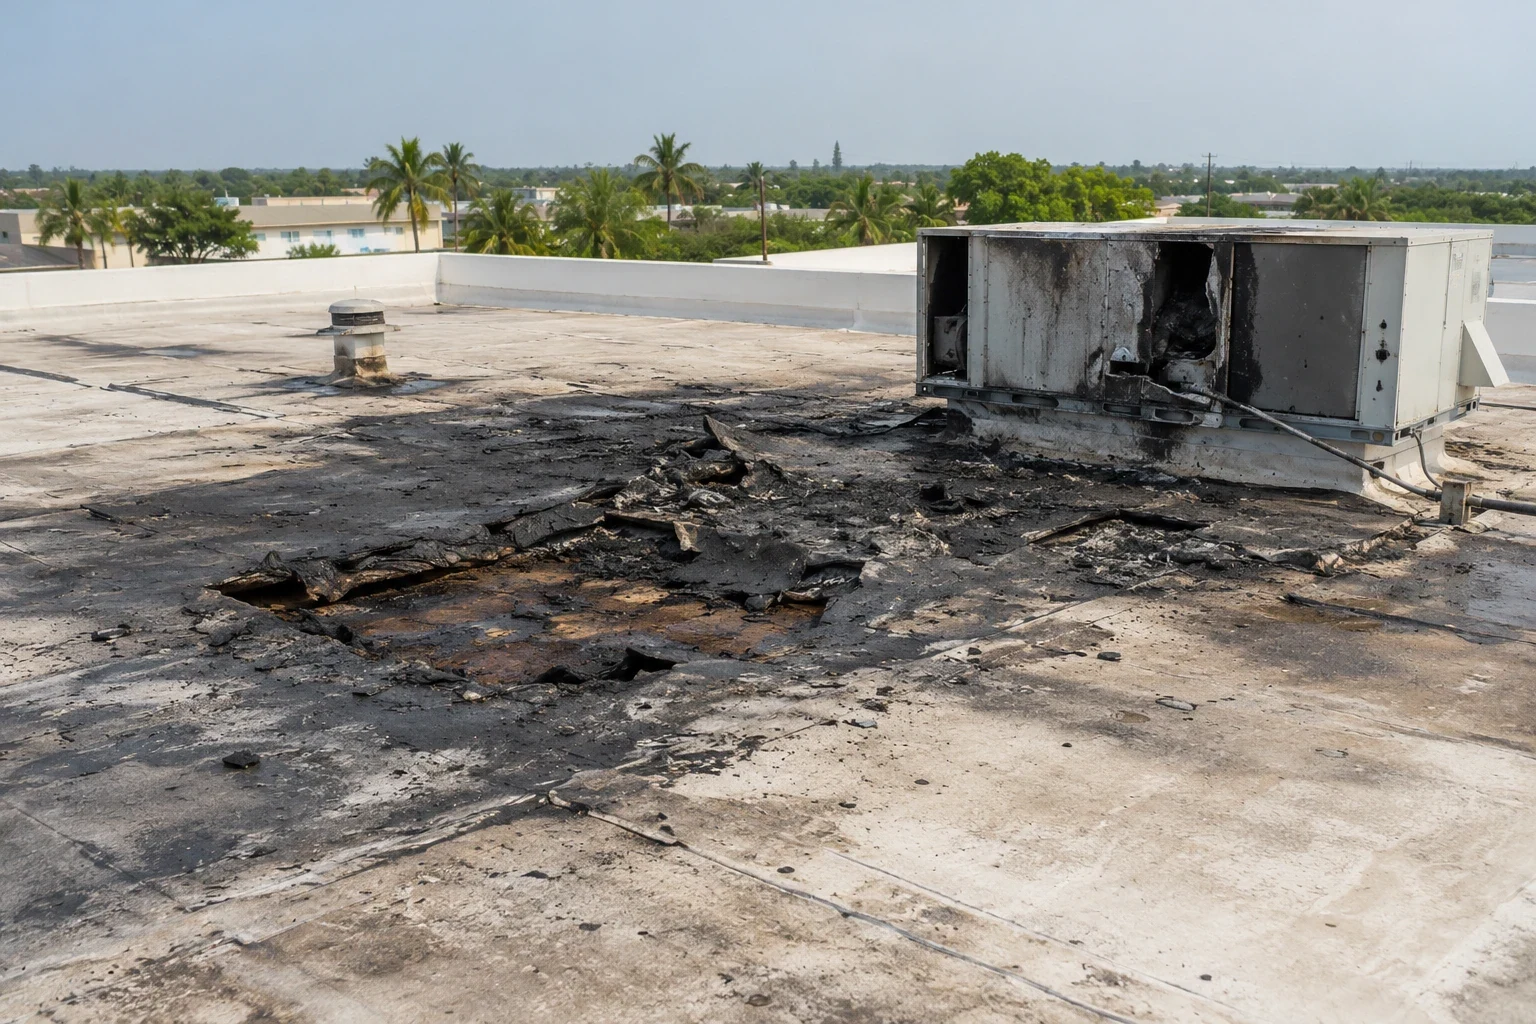
Assembly review: Check what the flashing attaches to
A new flashing cannot stay secure if it attaches to wet insulation, corroded metal, loose masonry, or a deteriorated curb. We identify the substrate and attachment that can be seen or tested, and note where finishes conceal the connection. The work plan states whether removal stops at the transition or extends into the field membrane, and how a new termination will direct water away from the joint. A detail that crosses incompatible materials may need a separation layer or a redesigned transition.
Material choice follows the existing membrane and the condition of the vertical surface. We confirm whether a heat-welded, adhered, or mechanically attached repair is appropriate, and prepare the surface to the system requirements. On a metal roof, thermal movement can stress a rigid termination; on a low-slope membrane, ponding can keep the joint wet. TPO flashing details and modified-bitumen transitions call for different preparation and tie-in methods. The inspection should identify the roof system before the estimate names a repair material.
Metal counterflashing can expand and contract at a different rate from the wall or curb beneath it. We check laps between metal sections, end dams, reglets, and attachment points where present, then determine whether water can pass behind the visible face. The repair description states which component is removed and what must remain sound for the new termination. If the wall surface cannot hold the selected attachment, that condition is recorded before the crew closes the transition.
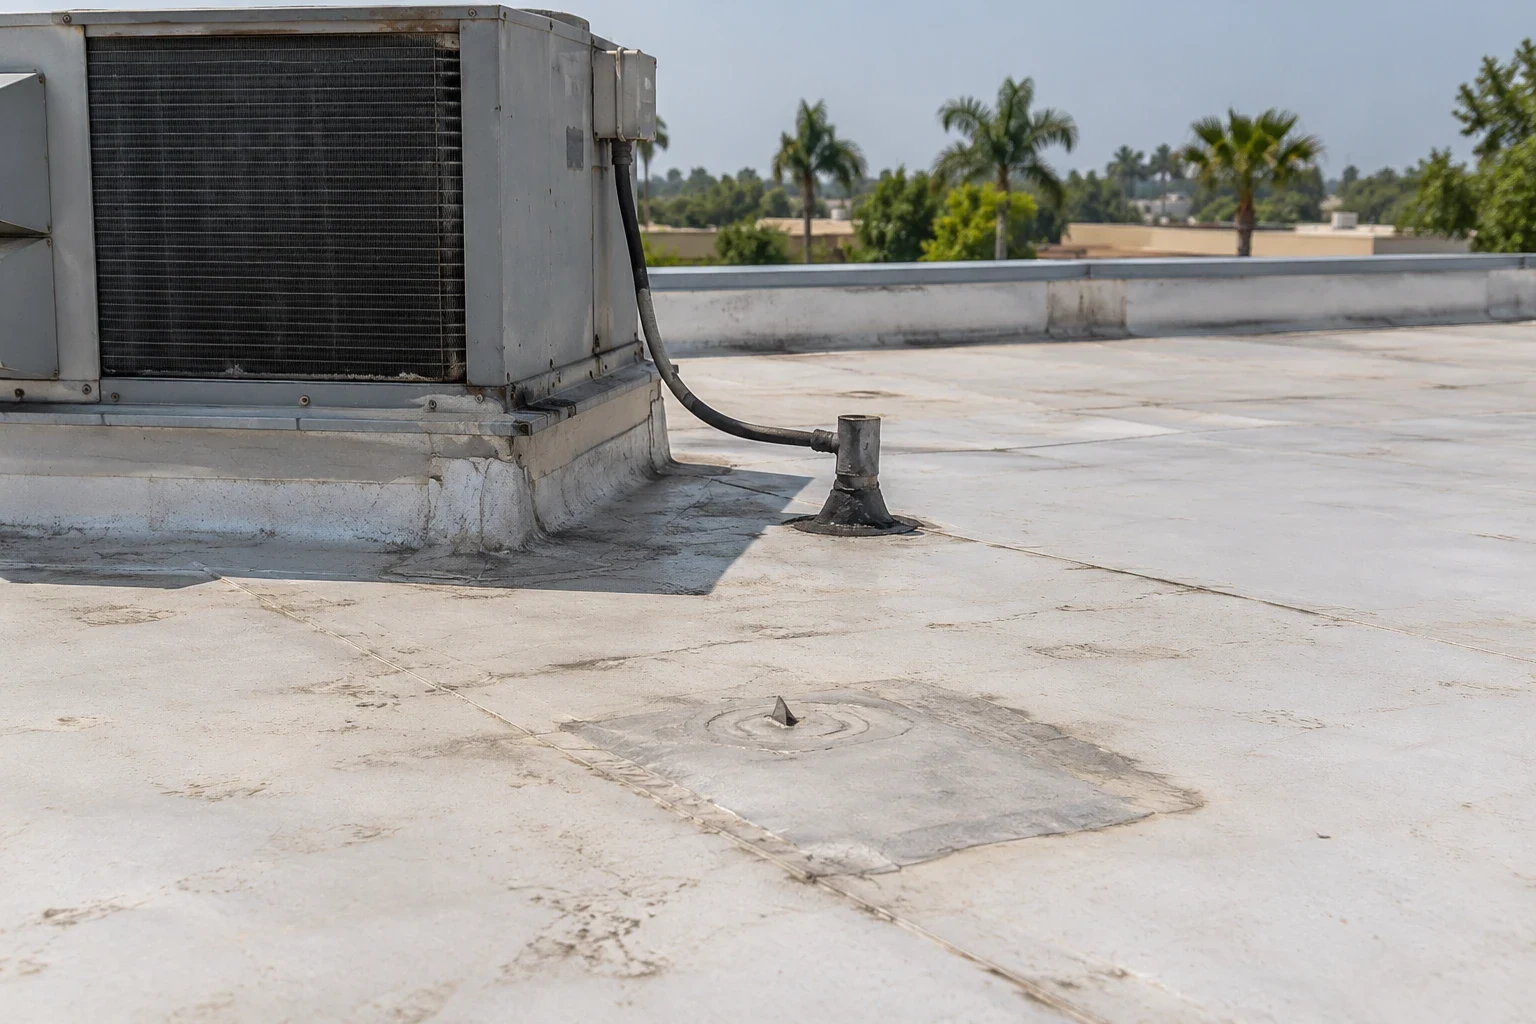
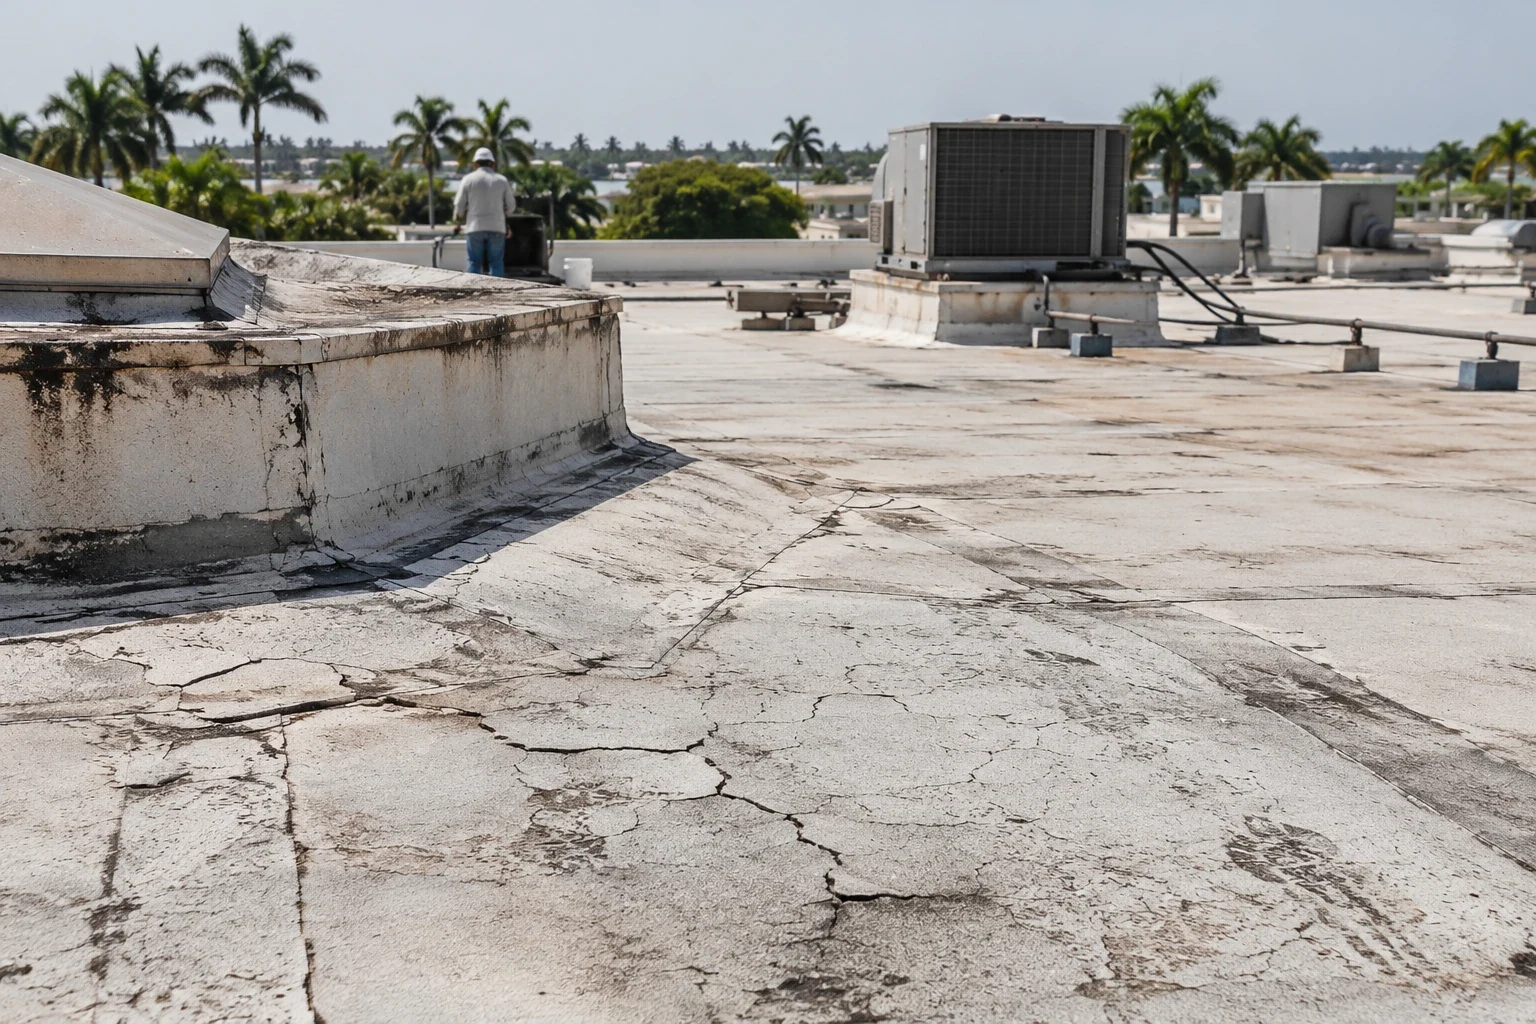
Repair limits: Separate local flashing work from wider damage
If the opening is isolated and adjacent membrane, insulation, and attachment remain sound, a localized repair may resolve the leak. If seams have separated, moisture has spread, or the substrate cannot hold new flashing, the work must extend beyond the visible edge. We mark the boundary of tested damage and list any inaccessible areas. This keeps a measured repair distinct from an allowance for concealed conditions.
Cost and timing depend on access, curb height, surface preparation, equipment shutdown, removal depth, and weather. We document temporary protection, disposal, and permanent materials as separate work items. A seam repair may be needed where the opening continues into the membrane field, while a recover assessment asks whether the existing assembly can accept another layer. A coating or patch should not conceal an unresolved wall joint or wet substrate. Each option is tied to the roof evidence and to the building's operating limits.
After installation, we check the top termination, corners, and lower tie-in rather than judging the work from its sealant bead alone. The closeout identifies the component replaced and the remaining adjacent detail for future review.
Site sequence: Keep the building dry during the repair
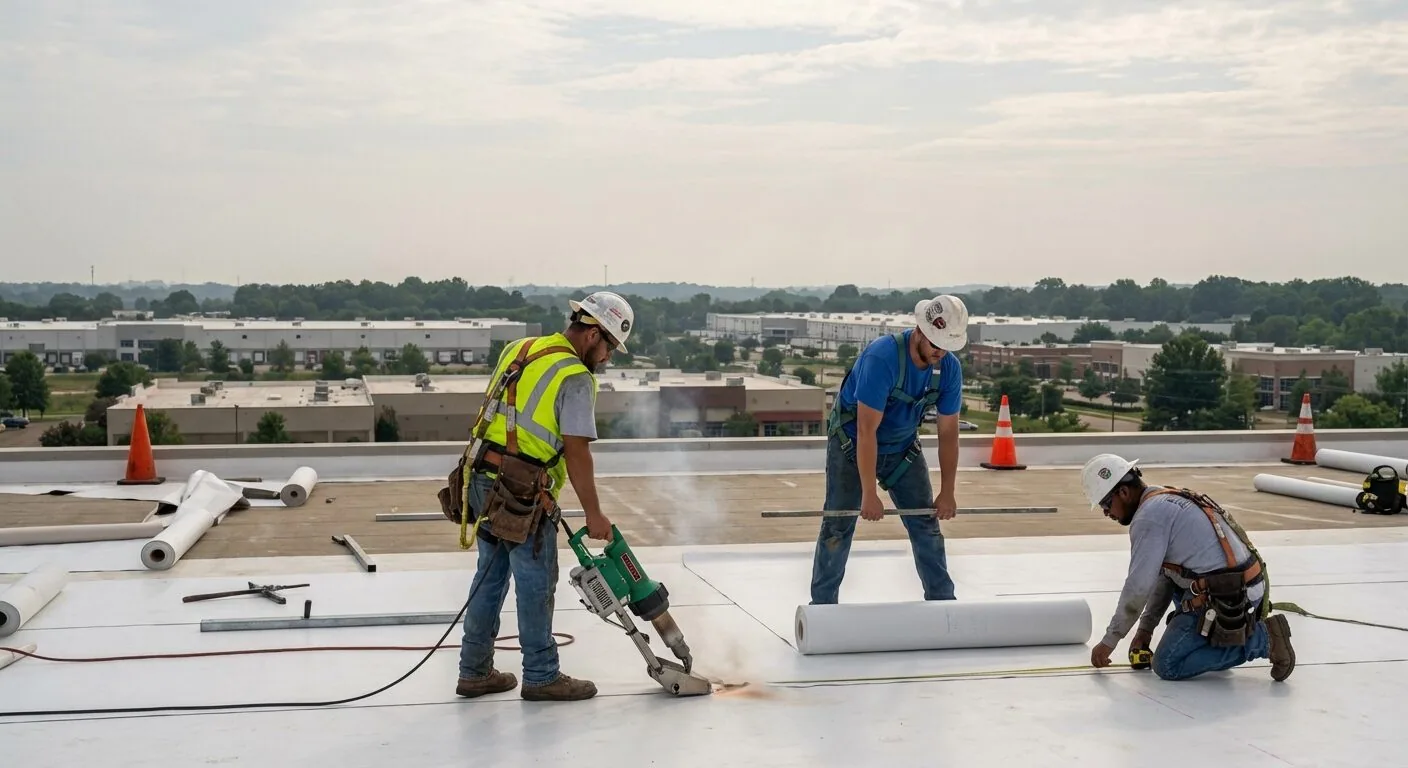
Before opening a flashing, we confirm access, interior protection, equipment operation, and the size of the area that can be closed that shift. A repair at a medical office or distribution building may require coordination with rooftop service routes and interior schedules. The roof plan identifies the work zone and the person who can approve a concealed-condition change. Materials and debris are kept clear of drains, and the transition is left watertight before the crew leaves.
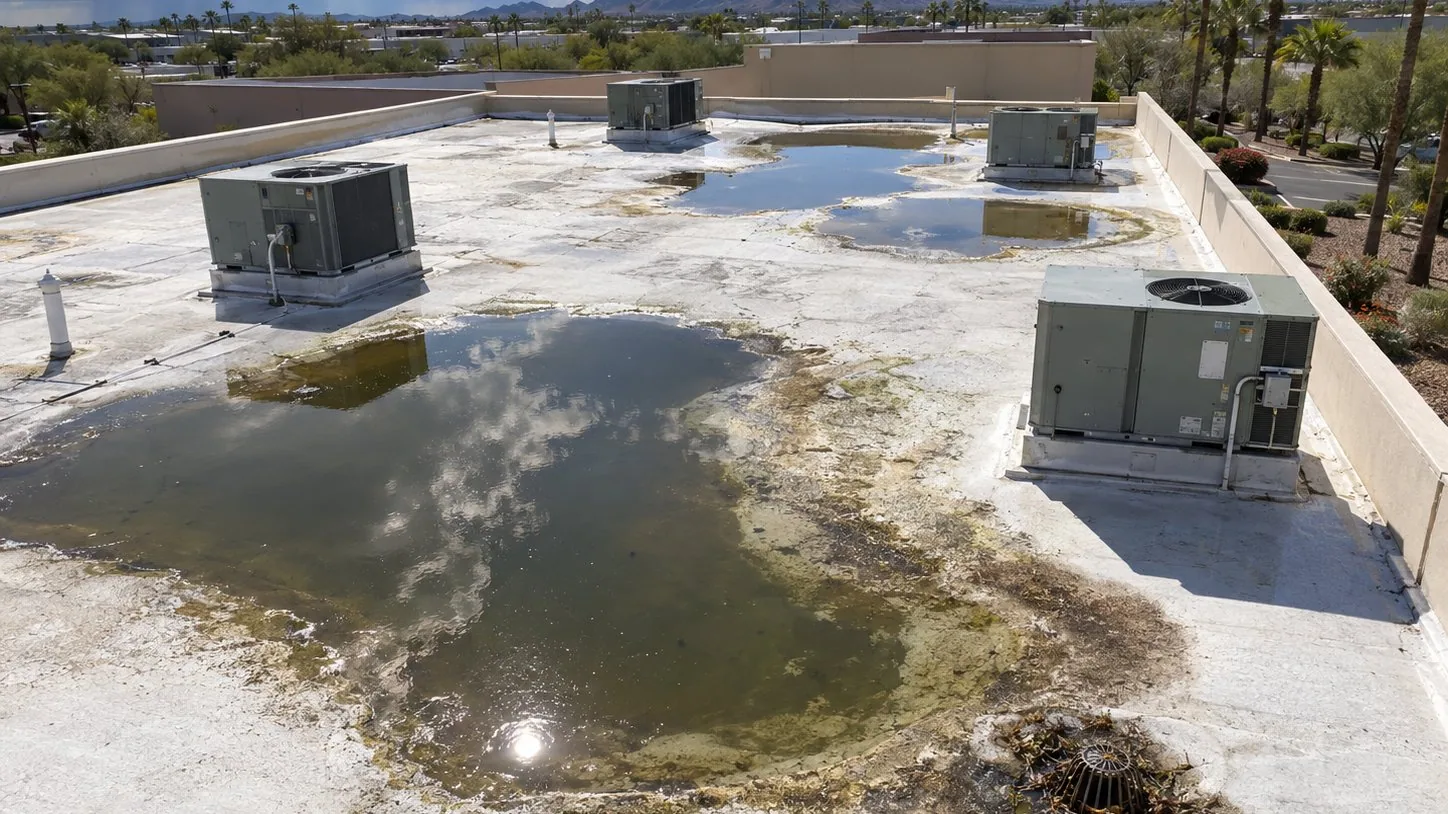
Rainfall is concentrated during the South Florida wet season, so a detail that cannot be dried and closed safely should wait for a suitable window. A maintenance inspection can revisit repaired transitions, open sealant joints, and nearby outlets. For buildings in Sunrise, share unit schedules, roof plans, leak reports, and any prior flashing repairs. We will record the completed detail and note remaining work so the facility team knows which areas are ready for service.
Frequently Asked Questions
What parts of a roof flashing do you inspect?
We check the membrane turn-up, termination, counterflashing, fasteners, substrate, and nearby drainage. The roof system and transition geometry determine the repair method.
Can sealant alone repair a leaking curb?
Only if the joint and substrate are suitable for that treatment. We inspect attachment and material condition before deciding whether flashing must be rebuilt.
Why can a wall leak appear far from the flashing?
Water may move through insulation, deck flutes, or framing before entering the room. We compare the report with upslope roof details and test when needed.
How do you price a flashing repair?
The estimate identifies access, preparation, removal, material, tie-in, and any concealed-condition allowance. Photos and measurements tie those quantities to the affected roof zone.
Can you protect the building before permanent work?
We can install suitable temporary protection when conditions permit, then record its limits and return to inspect the assembly before setting final quantities.
Inspect the transition before repairing the surface
Share roof plans, unit locations, leak timing, access requirements, and previous detail repairs. We will trace the moisture path, identify the attachment and substrate, and document the work boundary.
Call 555-555-5555 or request a roof assessment.